Christmas Kicks
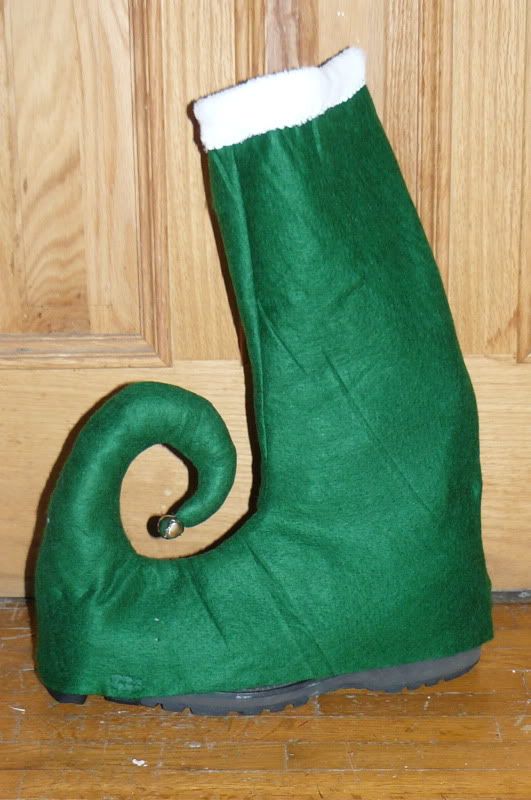
ie covers that look like curly elf shoes
For this you will need:
Christmas music playing in the background, I recommend Frank and Bing.
Boots, or shoes to wear under the covers
Felt by the yard, not the bitty squares
Pipe cleaners
Velcro (or not, if you are wearing over tights)
elastic (just a foot or so)
faux fur for the top
sewing machine, thread
needle, more thread
jingle bells
measuring tape
First, put on the boot/shoe and measure. You will need to know how big around to make the leg part, how tall to make the instep, and the circumference of the sole (heel, around the toe and back again.
Second, measure and cut, leaving half inch seam allowance. So, calf measure divided by two plus one inch is the width of each half of the the top of the boot, etc. Notice the toe is on the fold and is not cut.
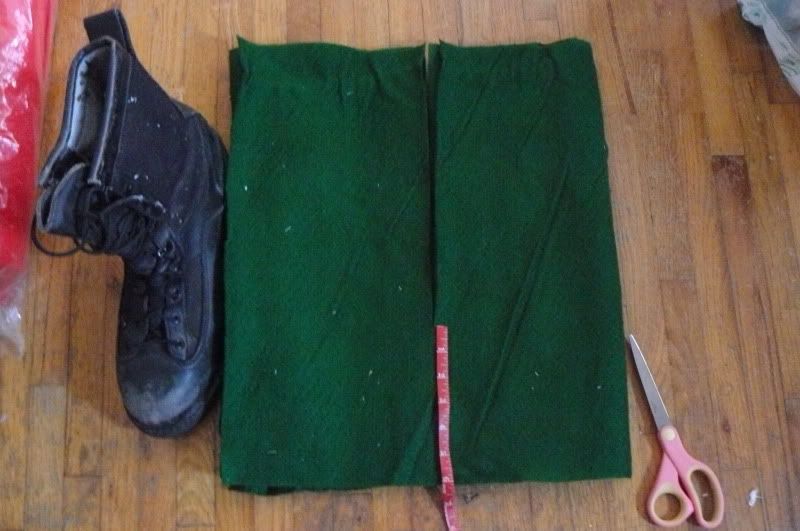
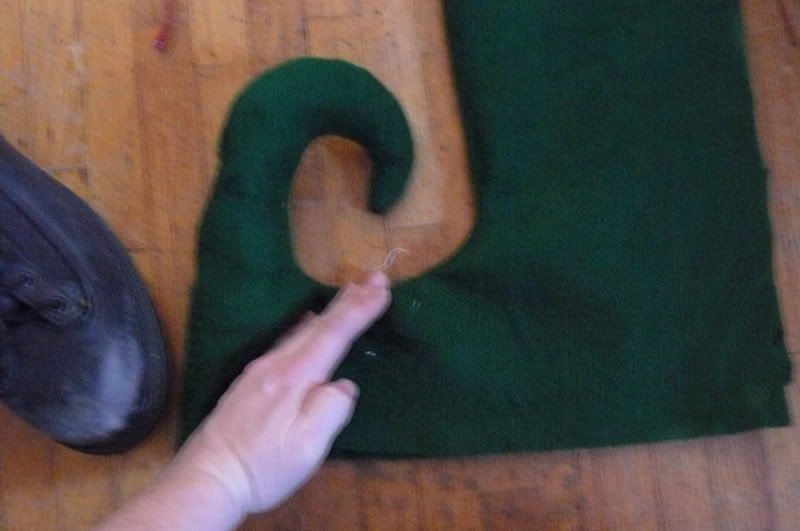
Then cut the curl like so:
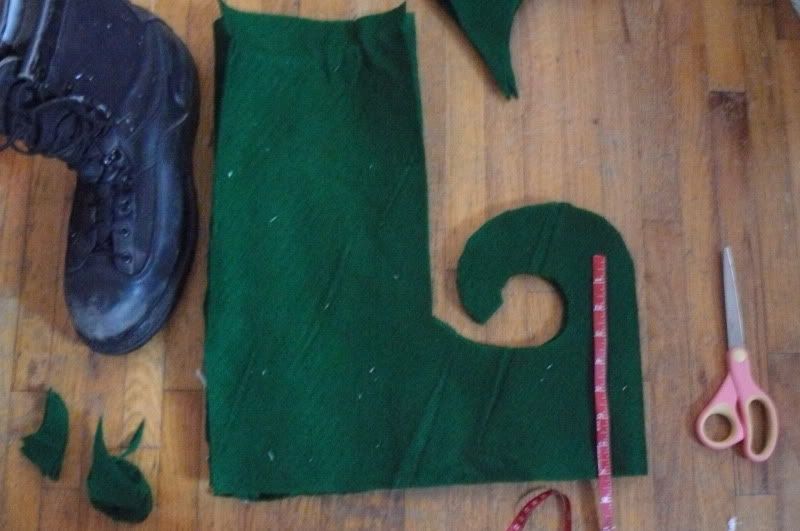
Notice the toe is still not cut.
Sew down the front of the boot and around the curl.
Then zig-zag on a pipe cleaner in the toe/curl for support. The stitches on the fabric will stretch out and be invisible if you use the same color thread.
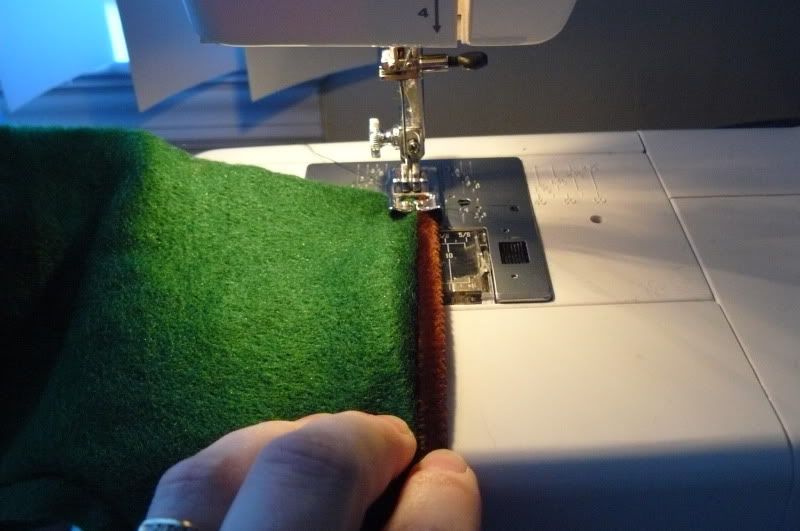
Once you are to where the seam is you can bring the pipe cleaner into the center of your zig-zag.
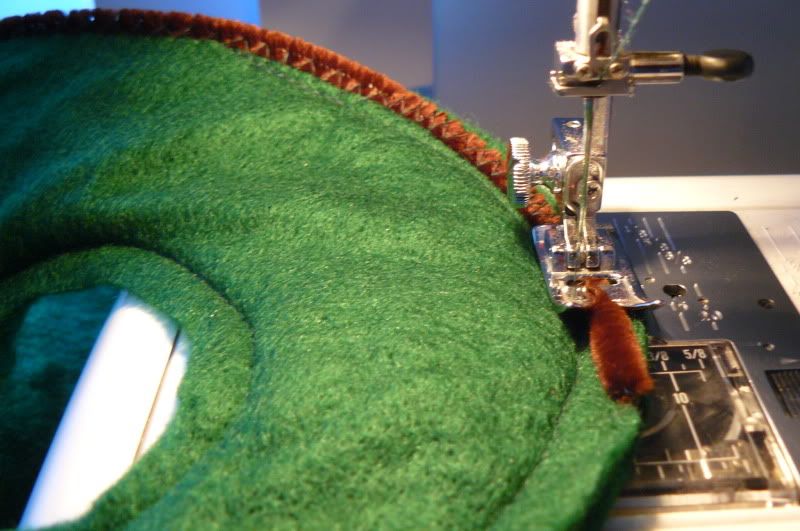
Sew back seam or sew Velcro in at back seam hard side on the outside soft on the inside. Sew on the faux fur.
Turn, straighten the pipe cleaner and stuff with scraps from when you cut the boots out. I stuffed to an angle at this point, and then baste stitched by hand to keep it in place at the angle to rest right on the boot toe.
Fit to boot, pin a piece of elastic about 3 inches back, running under the sole. Remove and sew, this keeps the cover toe down and the curl standing up.
Add your bell.
Put them on and tap your feet to the music while you sew the rest of your costume.
Elf ears:
You will need:
The plastic cross-stitch stuff, don't ask me what it's called, I don't think I've ever used it for it's intended purpose.
Great Stuff - That's the brand name, it's spray insulation foam from the hardware store, in the insulation isle, and if you can get the "gap filler" not the "window-door" gap filler is sturdier.
Modge-podge
Paint the color of the skin tone you want. Personally I'm "buttermilk."
Knife, scissors, paintbrush
PLASTIC SHEETING AND RUBBER GLOVES (great stuff does not come off ANYTHING it gets on when it is wet, I've worn it for a week before I shed enough skin to get rid of it)
TIME, Great Stuff must cure over night before you can move it, then the modge-podge must dry overnight. The paint doesn't take as long.
Cut the plastic grid stuff into the shape you want. You are making the backing for your ears. This way you can sew through the foam and it won't rip off the thread. I traced my ear onto a paper towel with a marker and went from there.
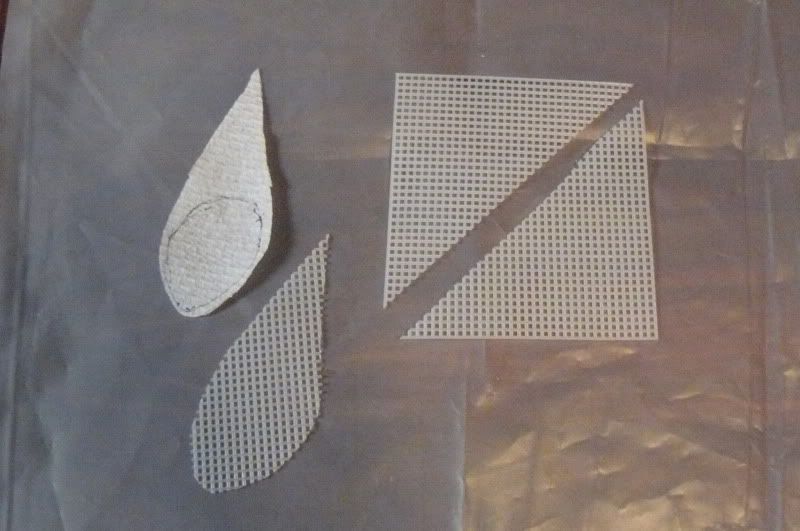
Lay the ear backings you just made on the plastic sheeting. Leave large gaps between them, great stuff expands.
Shake the Great Stuff can until your arm hurts, screw on the pipe thing and carefully, gently dispense to cover your ear backings.
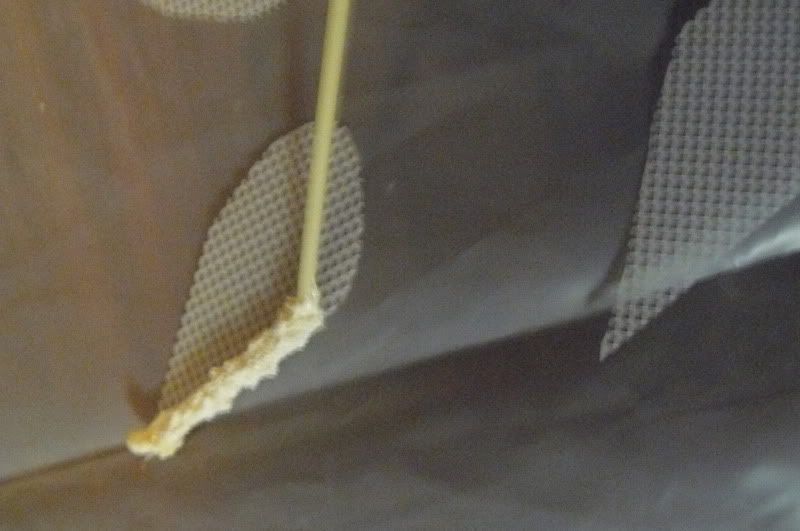
DO NOT TOUCH, DO NOT LET YOUR HUSBAND TOUCH, DO NOT LET THE PETS IN THE ROOM until it is dry.
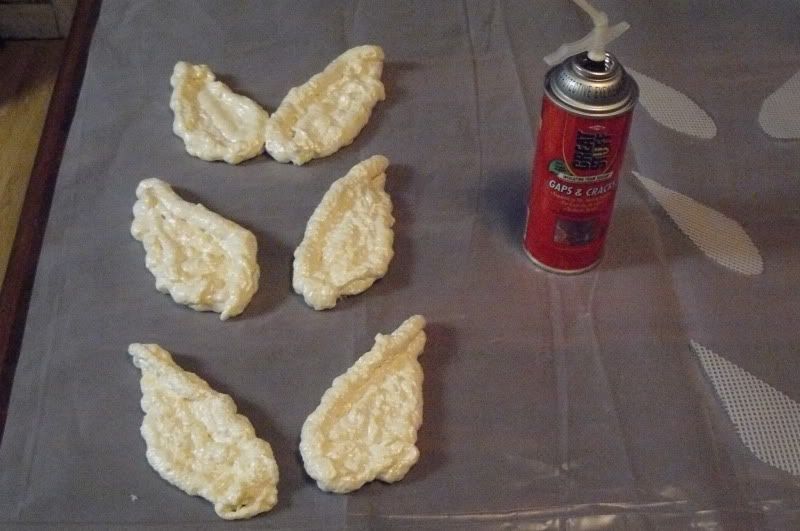
(If your husband squawks about wasting the can of Great Stuff let him go play with it in the basement, but make him hold a paper towel under the tube as he crosses the floor. My husband can save a can for later use, but it's a pain and isn't 100% effective to clean the tube like he does because sometimes it clogs inside the can.)
When the ears are dry you can leave them bumpy and misshapen or shave them to a better shape with a serrated knife, like a steak knife.
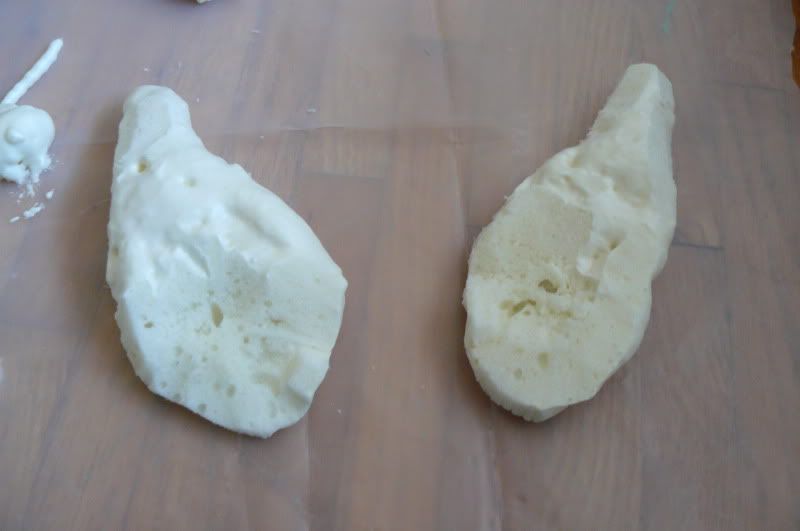
Paint with modge-podge. Modge-podge will stick to the great stuff, paint just beads off. It will also help fill the little holes. Let dry.
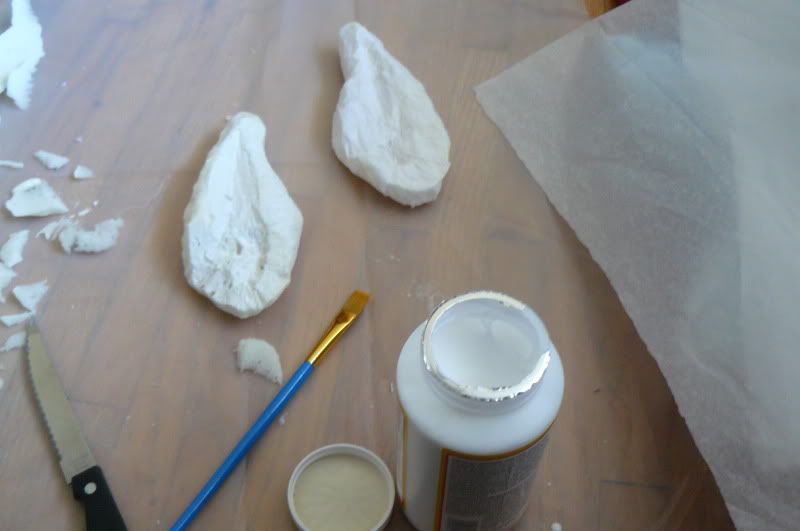
Paint with paint, let dry. Sew onto a stocking cap or headband.
Somehow I did not get pics of that part... ah well. Maybe I will get some before the parade.

1 comment:
Cool!
As I read your notes of caution, I hear the voice of experience ("do not let husband touch...") LOL!
Reminds me of a certain yogurt bear. Never could get the second costume process (forget now what it was) to work like the first one did. You have obviously honed the technique! I have obviously honed the "I'm all thumbs" technique.
Looking forward to the pix.
When you're done with the ears, can I have them? Would make great props for playtime with my A guys. I'll just add some velcro to my ears so that they stay on when I'm running around!
Post a Comment