Sunday, October 25, 2009

Snowflake earrings

These are just simple earrings I did for my friend's birthday. Wire, Ear hooks, some little crystals and a lot of twisting.
I guess this means I'm kind of a twisted friend...

snowflake earrings

Thursday, September 17, 2009

Halloween Wizard and Princess 2009

This year for Halloween Jay wanted to be a Wizard, thank goodness. Jordi wanted to be a princess. Between their choices and Tali's I think I may just have to go as an Author to round out the grouping. Get it? lol

My kids have fun taste in fabric. It has made this process so much fun.
Fabric
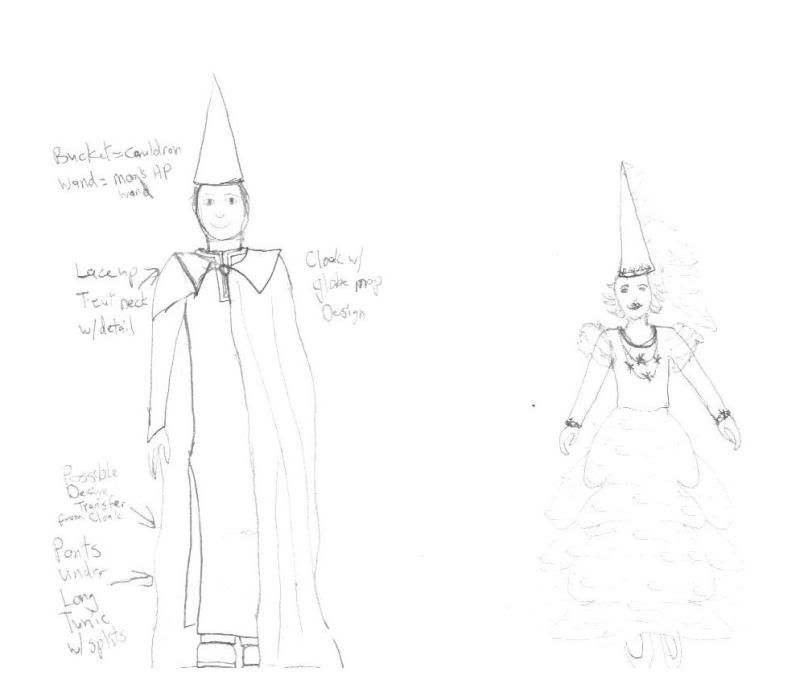
These are the concept drawings, though I have diverged greatly from this, as is my right as the artist (and the kids keep changing thier minds):
Concept drawing 09
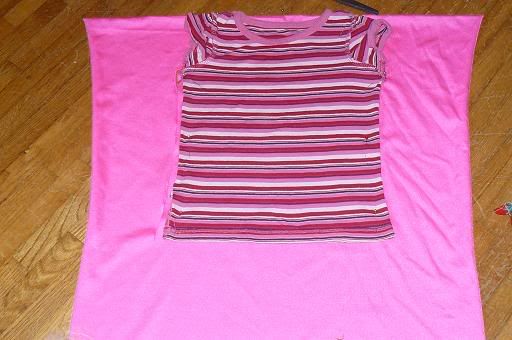
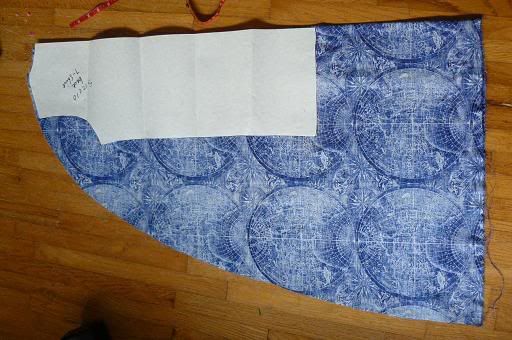
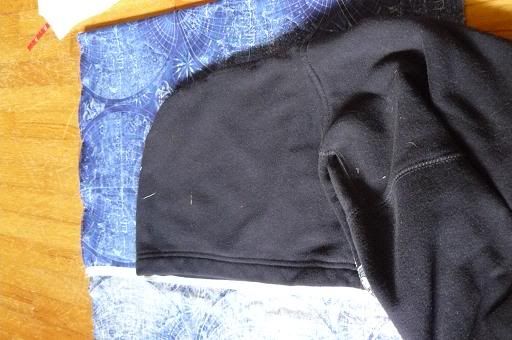
I love to use objects already on hand as patterns, hooded sweaters, t-shirts that fit just right, and my mother's old patterns from when I was a kid.

A word about my mother. My mom can do anything, and does do whatever she sets her mind to, no wonder I turned out the way I did. Sometime after USA Today ran an article on her and before she got her Doctorate level degree, she passed down her sewing patterns to me. I think I was the only daughter with kids at the time. Having watched in awe as she created incredible things all my life I was happy to have them. It was like she was passing on much more though, like it was my turn to be super-woman. I have never doubted that she knew I could do it, though at times she has raised an eyebrow at my methods, my mother has always believed that I could do anything I set my mind to. I only have to apply the thought, hard work, and love that she put into all her creations. I can only hope that the intangible legacy of creativity and tenacity that she left me is one I will leave my children. My mother doesn't expect me to follow her footsteps, I can make my own path, but she will tell you she expects me to surpass her someday. Nawh... we'll just be equals, sisters, like we always have been. (I love you Mom.)

Okay, back on track.
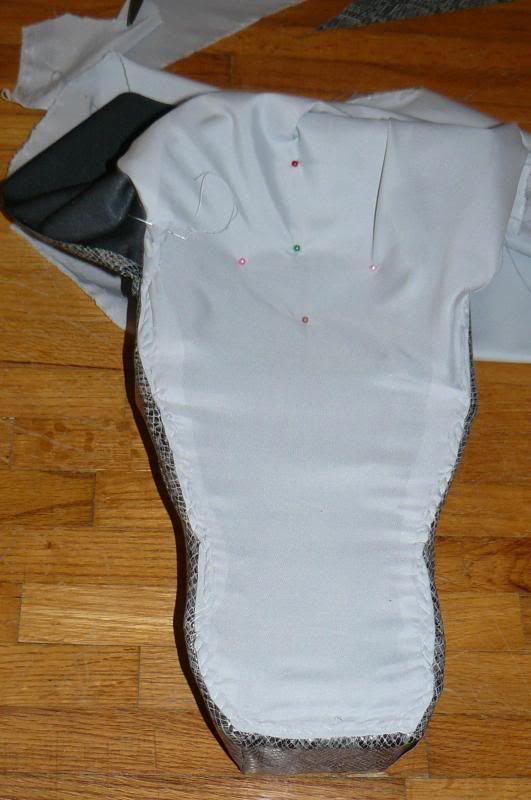
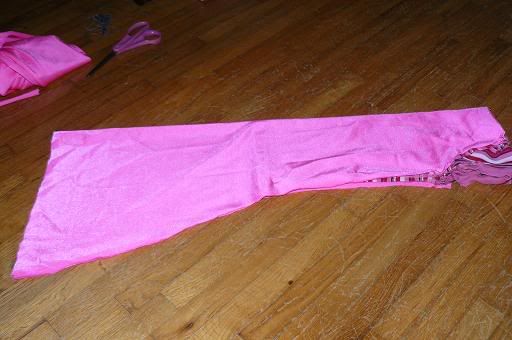
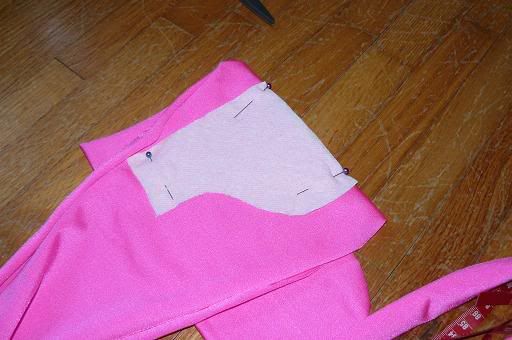
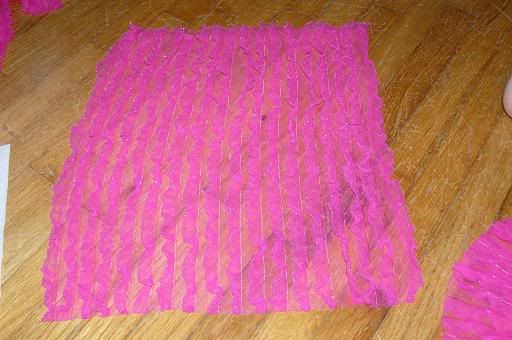
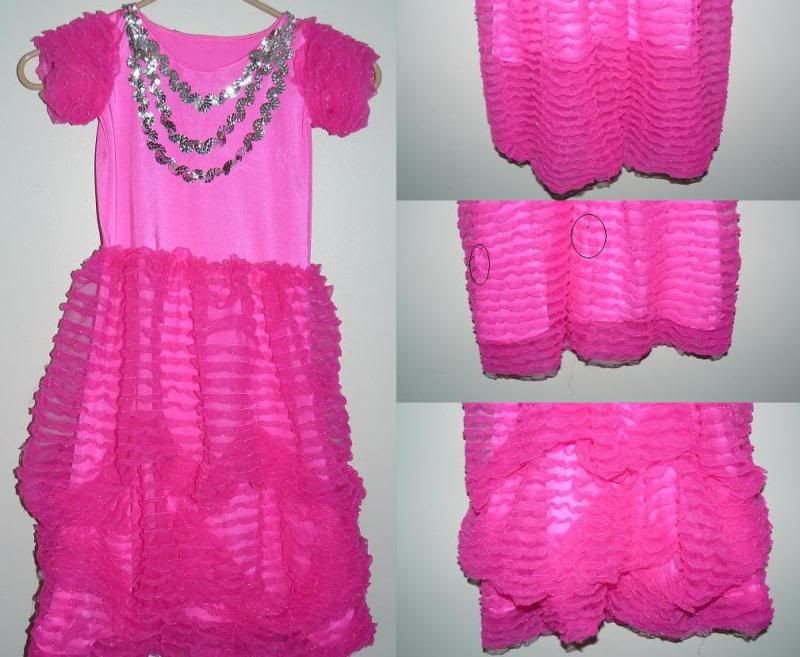
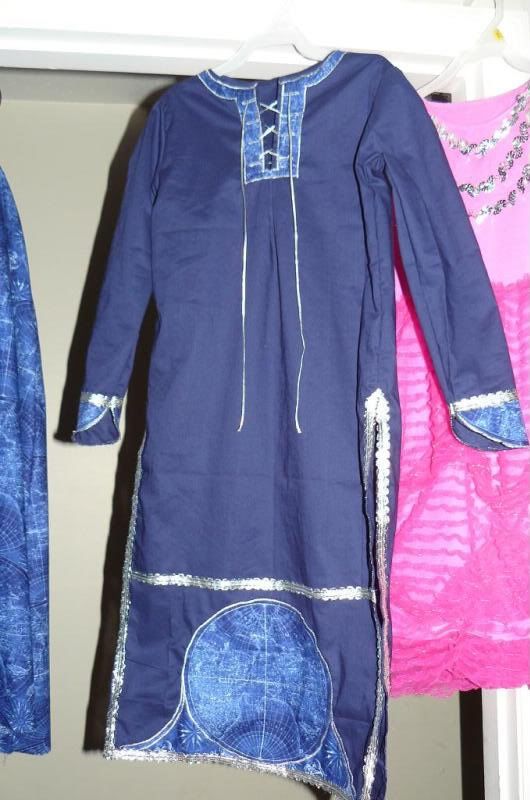
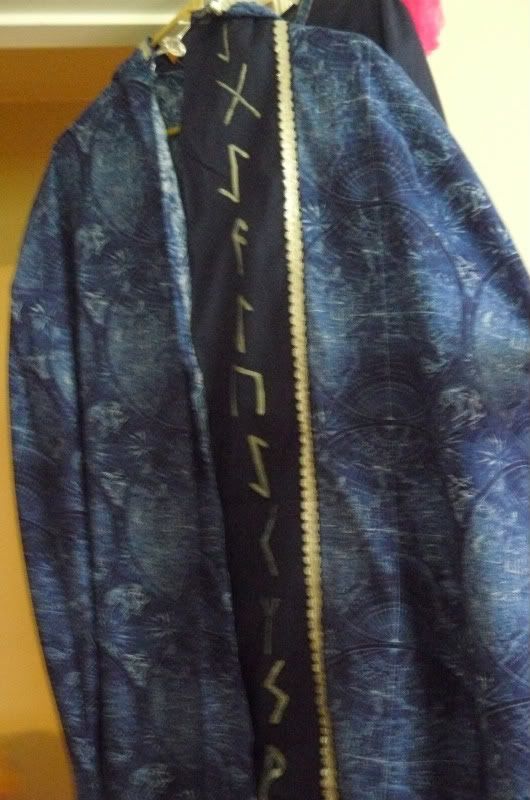
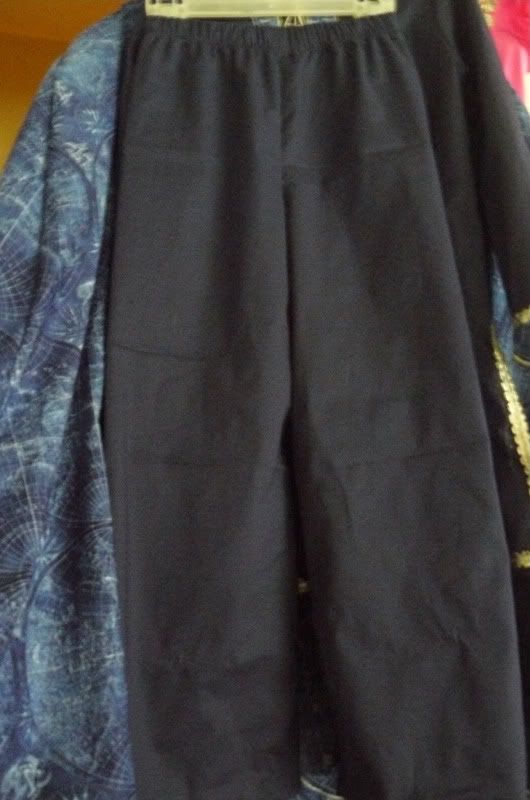
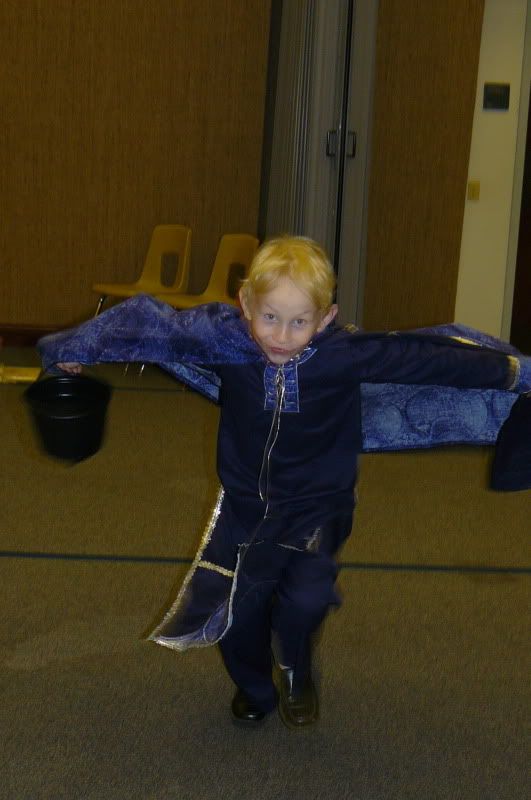
I used a combination of things as patterns for the cosutmes, sweatshirt hoods, t-shirts, patterns, and self drawn patterns. For Jordi's dress I extended and flared a t-shirt. Then the over layer is a big rectangle that I gathered, over-sleeves are gathered rectangles too. Jay's tunic is a large t-shirt extended, the cloak is a different take on the same pattern.


P1010554.jpg picture by teljchallP1010555.jpg picture by teljchallP1010556.jpg picture by teljchallP1010557.jpg picture by teljchall

P1010565.jpg picture by teljchallP1010566.jpg picture by teljchall

The over sleeve was machine gathered on the edge seam, so that it would lay right under her arm. You just do a long stitch, then gently scoot it down one of the threads.

P1010562.jpg picture by teljchall

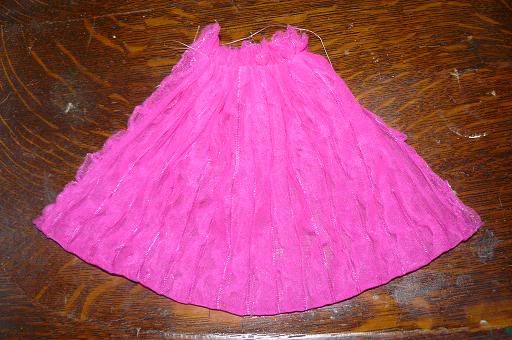
Then with the skirt I attached it at the hem and waist, it hung down quite a bit, which was the plan. I pinned it up so that the hem was where I wanted it, then put in a few pins where I would stitch. Then I did a second round of the lifting and stitching so that I ended up with a fluffy skirt that has kind of bunched layers.

Skirt.jpg picture by teljchall

I did quite a bit of Applique on Jay's costume. If you have never done applique, this is what I picked up watching my mom. You pin well then sew a line right along where you want the edge. Trim very close to the stitching, then do a tight zig-zag over the top.
CopyofApplique.jpg picture by teljchall

I think they turned out rather well.
P1010575.jpg picture by teljchall
P1010585.jpg picture by teljchall
(The Runes on the cloak read Magic Gift, Magic Wisdom, Magic Health, Magic Enlightenment, Protection, Victory, Joy)
P1010586.jpg picture by teljchall
P1010563.jpg picture by teljchall

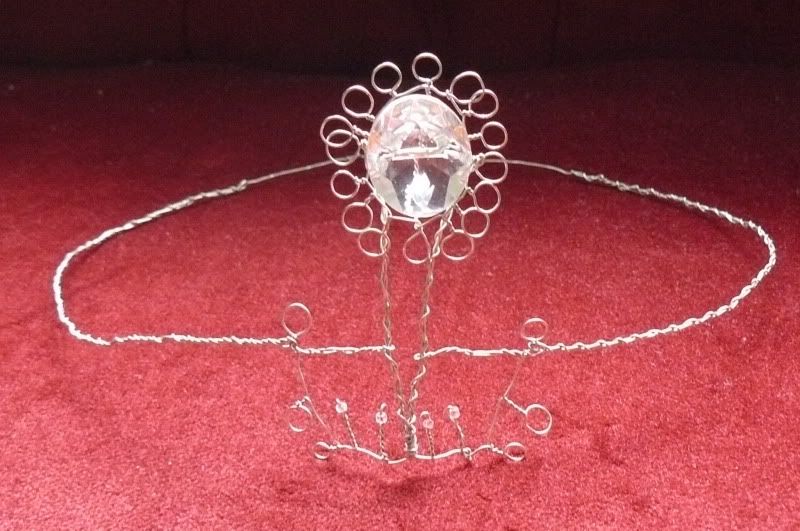
For Jordi's crown I used a button, a few beads, and wire. I put the button in the middle of the wire and started twisting. It was a lot of fun. It's amazing what a girl can do with a few tools and a lot of love.

P1010581.jpg picture by teljchall
The finished product on the models:
P1010632.jpg picture by teljchall
P1010636.jpg picture by teljchall
P1010637.jpg picture by teljchall

Thursday, July 23, 2009

Halloween Dragon 2009

I know it's not here yet, but I'm in the preparation stages (if in doubt why, read my other blog). I'm going to keep editing this as I add things, I have split this one off as it is so involved.
This year Tali is going to be a dragon. I like the challenge of doing a dragon costume.

So here are the fabrics for all the costumes:
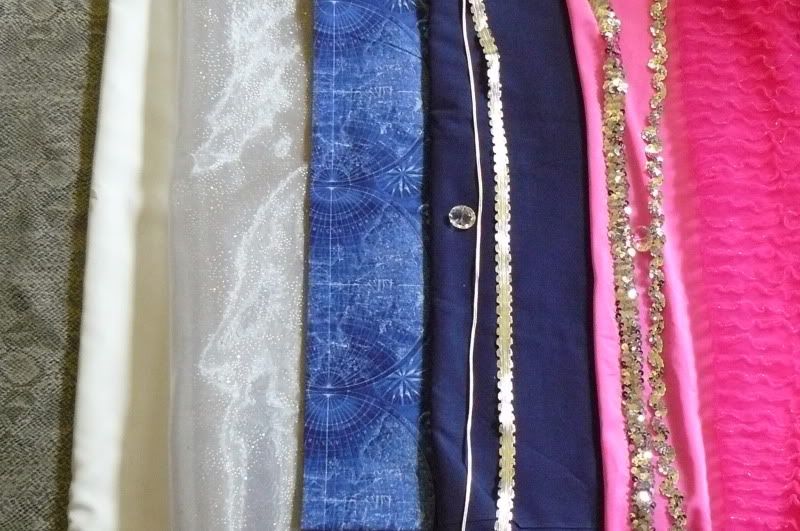
P1010455.jpg Fabric picture by teljchall
And here is the concept drawing:
DragonConcept.jpg Dragon Concept drawing 09 picture by teljchall

I have a personal rule when making costumes. "Do what scares you first." So I started on the dragon head right away. I'm also worried about how to put together the haunches and tail, but that's simmering on my mental burner and may be there a while before I make a cut. I need to get it fully figured out so I don't waste fabric.

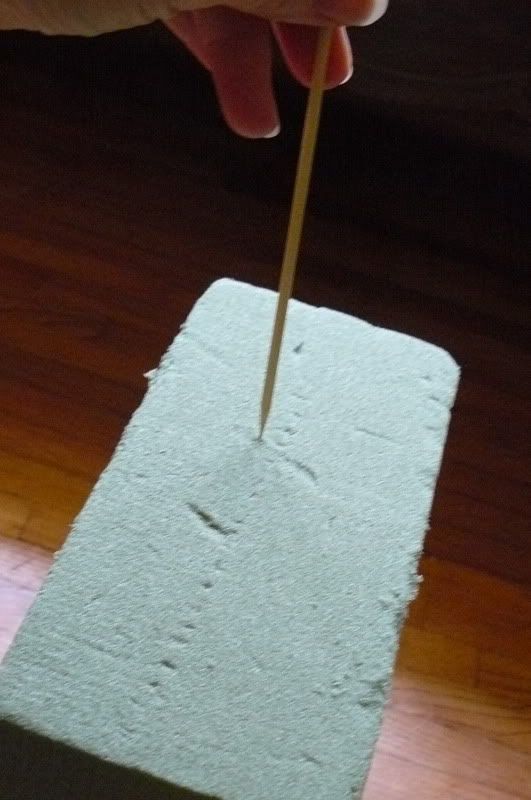
For the dragon head I purchased a pack of floral foam for $2. I glued the blocks together to make carving easier.
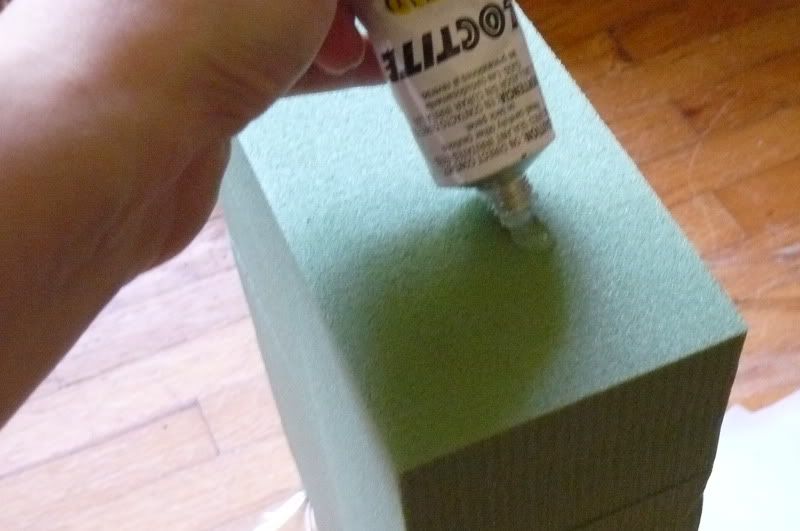
P1010456.jpg Dragon head glue picture by teljchall
Then I put some bamboo skewers in for strength.
P1010457.jpg Dragon head add skewers picture by teljchall

I studied some pictures of the dragon head shape I like and sketched it out with a crochet hook.
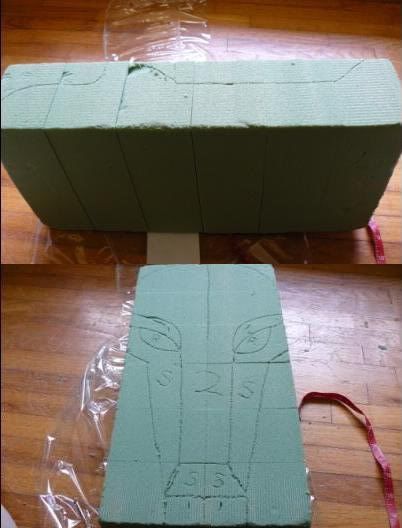
dragonheadsketched.jpg picture by teljchall
I started carving (note: if you do this, wear a mask and goggles, you don't want that stuff in your eyes and lungs). This was done with straight edged knifes. Then I hollowed out an area to sit on top of the head and cut the skewers where they got in the way. Then I added some more skewers for more strength.
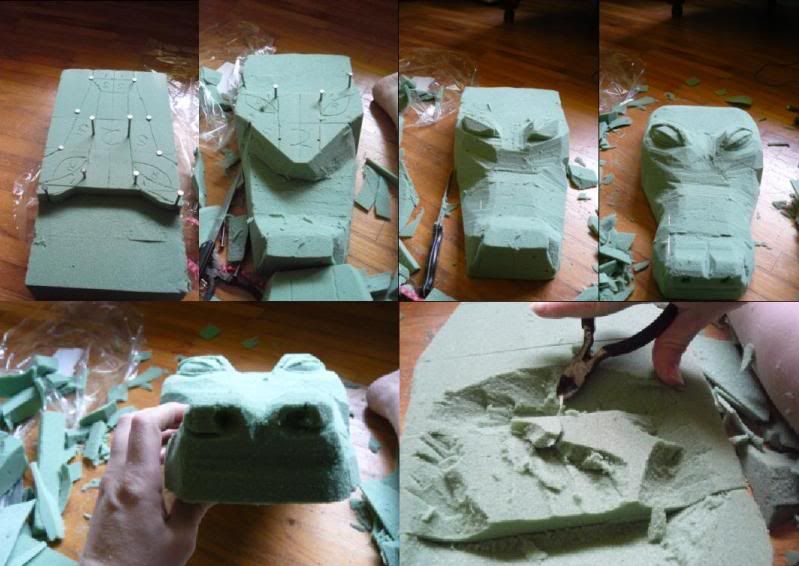
Dragonheadcarving.jpg Dragon head carving picture by teljchall

I cut a strip of the snakeskin looking vinyl and carefully placed holes for the eyes. I wrapped the head, pinning underneath and making notches to get the fit right. The pattern of the vinyl helped mask the edges where it overlapped in back and front. Then I stitched on the bottom.
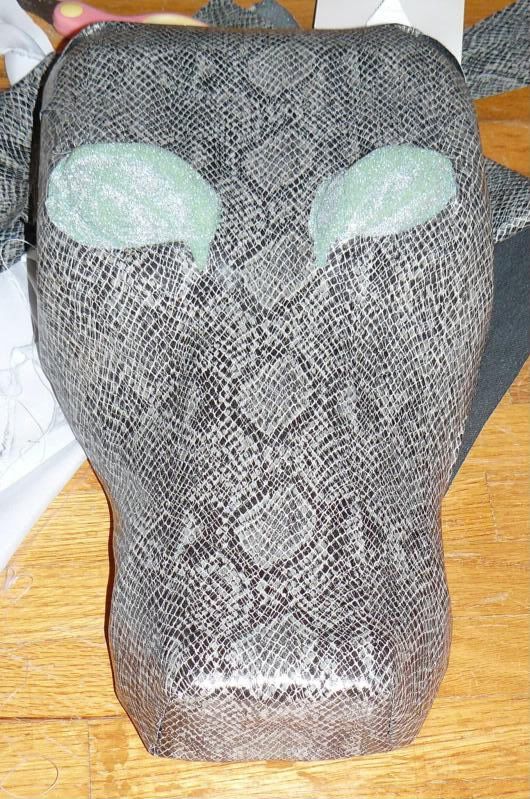
Dragonheadcovered.jpg picture by teljchall Dragonheadstichedbottom.jpg Dragon head underside stiched on picture by teljchall
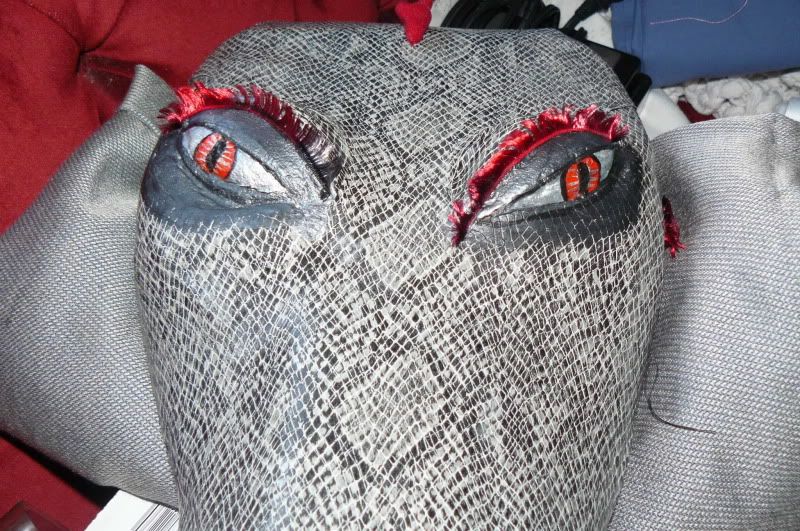
I needed to finish the eyes, so I glued on a piece to the back of each eye, then painted the front with glue. The glue has a lower water content and keeps the paint from making the floral foam turn to mush. It also creates a good painting surface, which is why one should always get paint-able glue. After the glue was dry (okay, it was about a week, life got in the way) I painted over it with acrylic paint and sealers. Thankfully I paid attention in the one art class I took in high school so this was not a challenge. Thanks Mrs. B. Tali wanted red eyes, to match the red ridge and tail tip she wants, and I did accents in silver and black for obvious reasons.
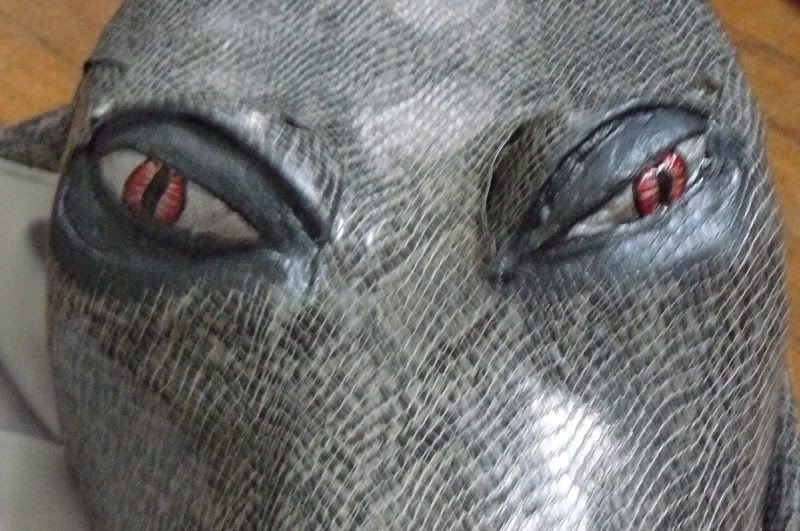
P1010582.jpg picture by teljchall
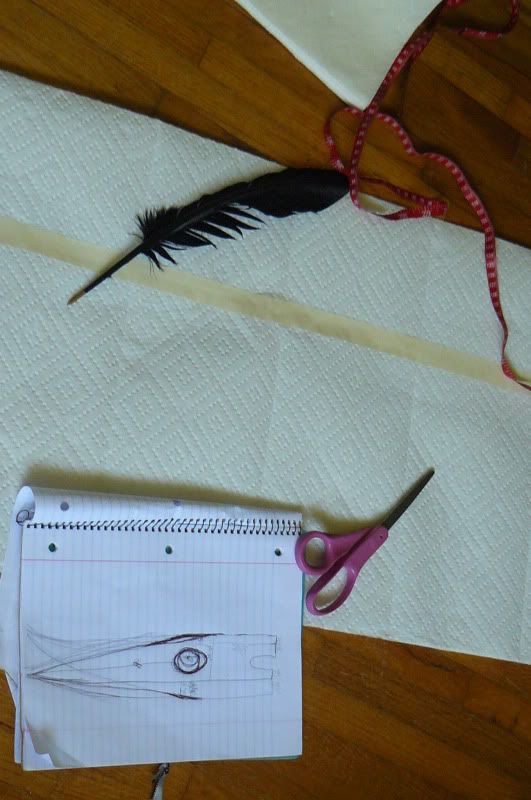
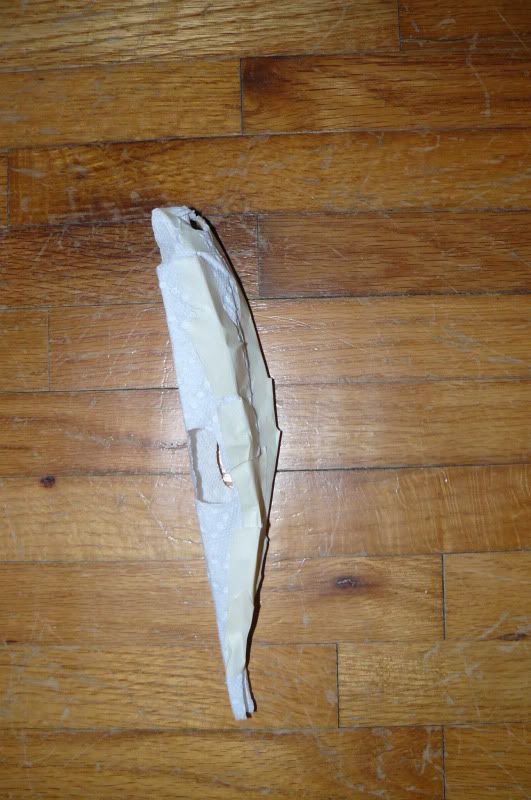
As far as the body, I like to do mock-ups in paper towels. I know, professionals use muslin, but I'm not wasting money like that, lol. So I use papertowels and tape. I spent a whole day thinking, sketching, measuring, cutting, and taping. Then when I tried the mock up on her it needed some adjustments, but that is what a mock up is for. The initial sketching and tiny mock up:
P1010540.jpg picture by teljchall P1010590.jpg picture by teljchall
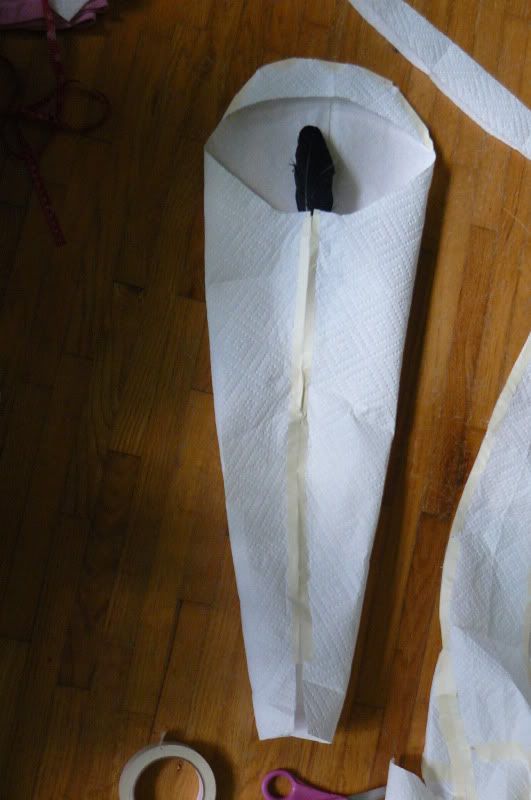
The leg with the additional piece to make it stand away from the body, and the quill inside, because I love my quills:
P1010541.jpg picture by teljchall
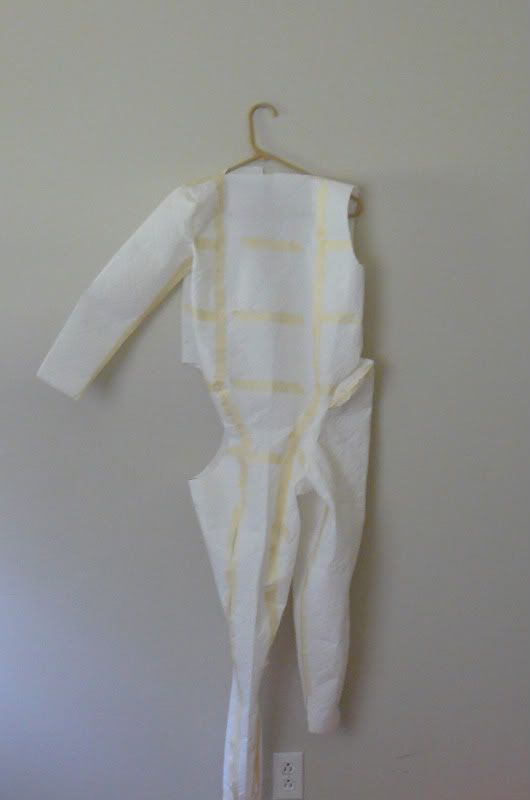
The finished mock up(Why one arm and one leg? Because you don't need a full suit, just enough to try the fitting of each piece):
P1010542.jpg picture by teljchall
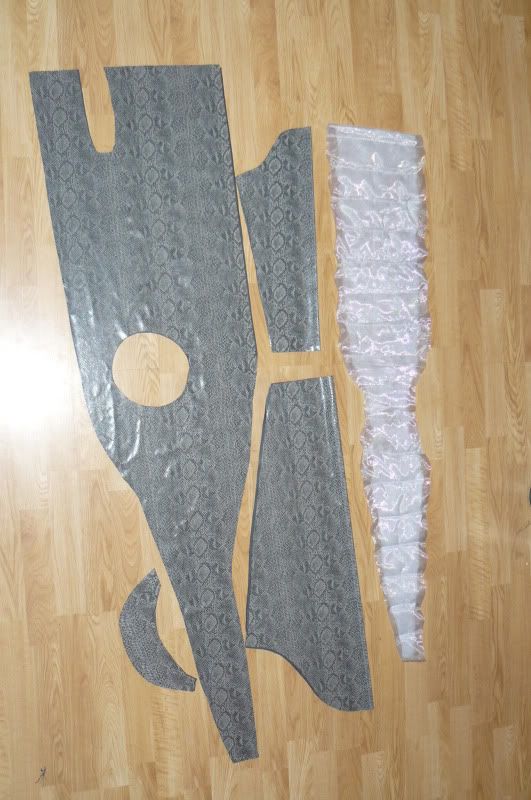
These are the outer pieces of the dragon costume, they were lined to give support.
P1010589.jpg picture by teljchall
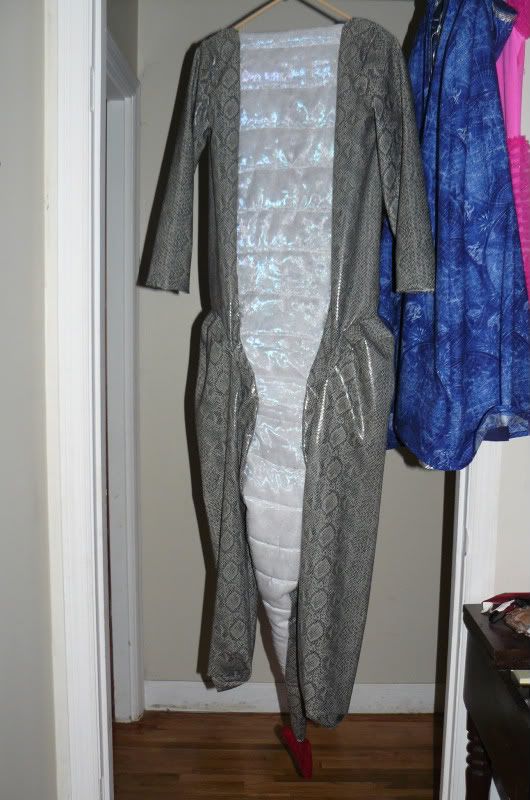
This is it, sewed together:
P1010591.jpg picture by teljchall
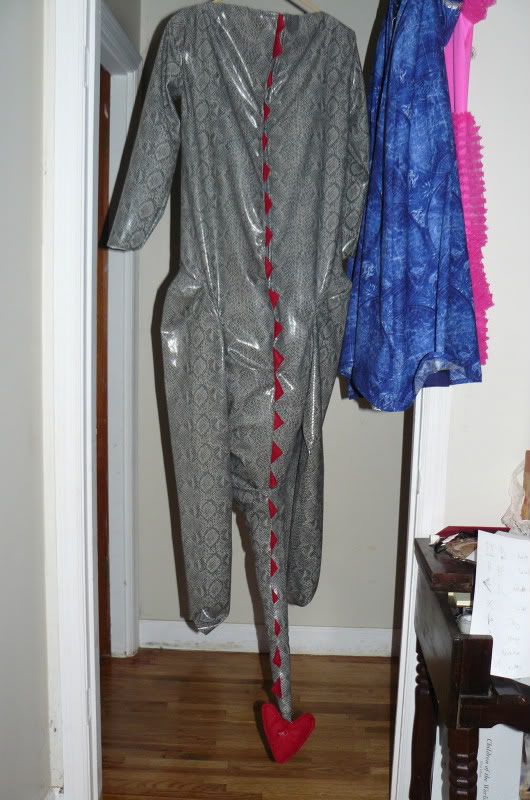
I also cut 3" squares out of red fabric to fold in to quarter triangles and put along the back. The zipper goes down the back.
P1010592.jpg picture by teljchall
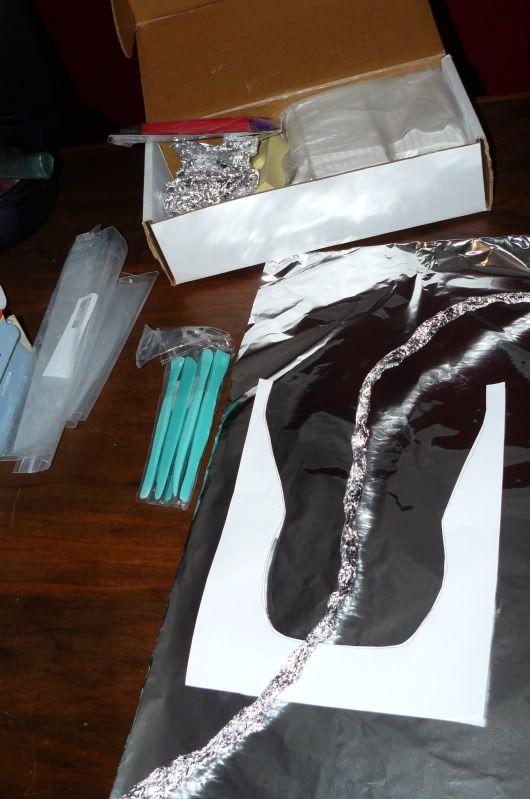
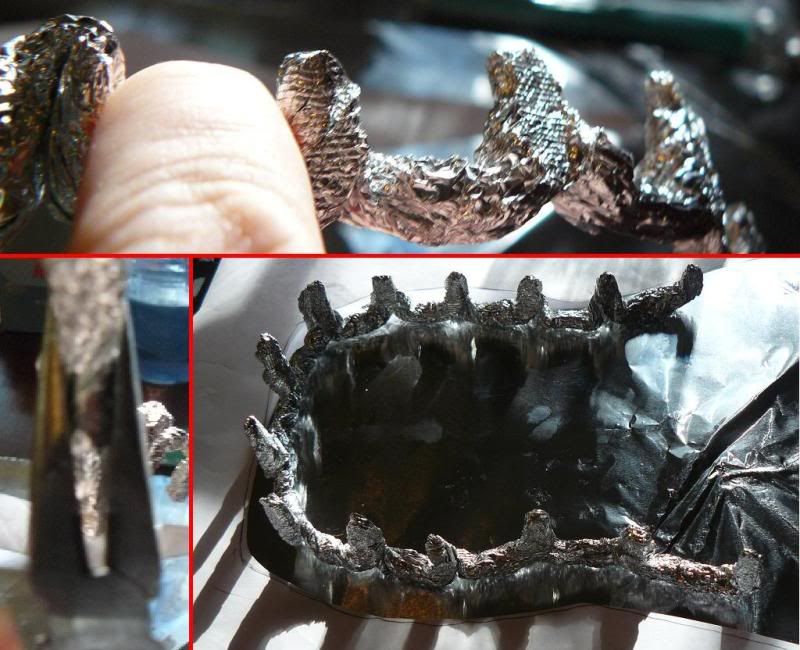
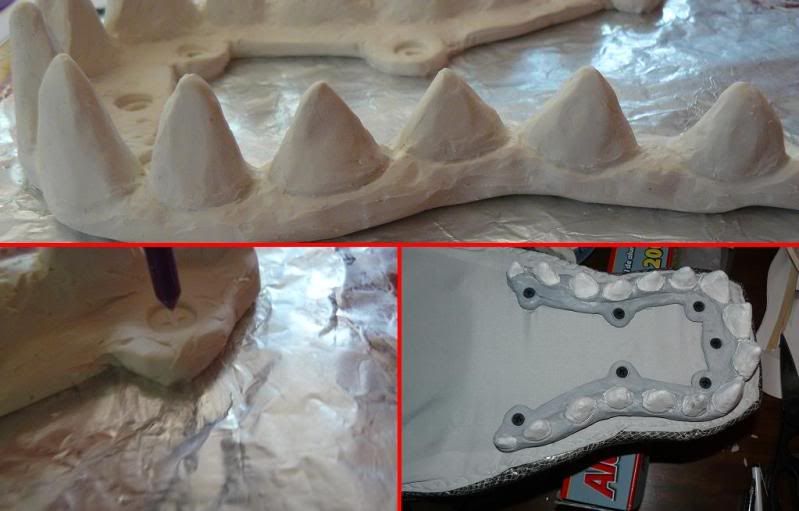
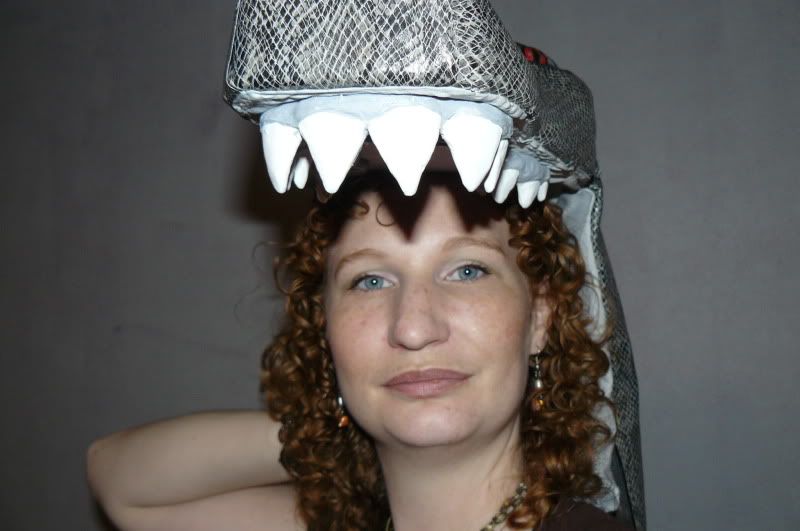
I decided to tackle the teeth one day when I had the morning off of work. I made them out of sculpey with an aluminum core, baked them, painted them, and screwed them into the head.
P1010594.jpg picture by teljchall
tinteeth.jpg picture by teljchall
teethfinish.jpg picture by teljchall
I think I make a pretty good dentist, lol.
P1010610.jpg picture by teljchall
I also decided to put eyelashes on the eyes, to compliment the tail, and because the yarn was calling to me plaintively from the basket, and who can resist plaintive yarn?
P1010613.jpg picture by teljchall
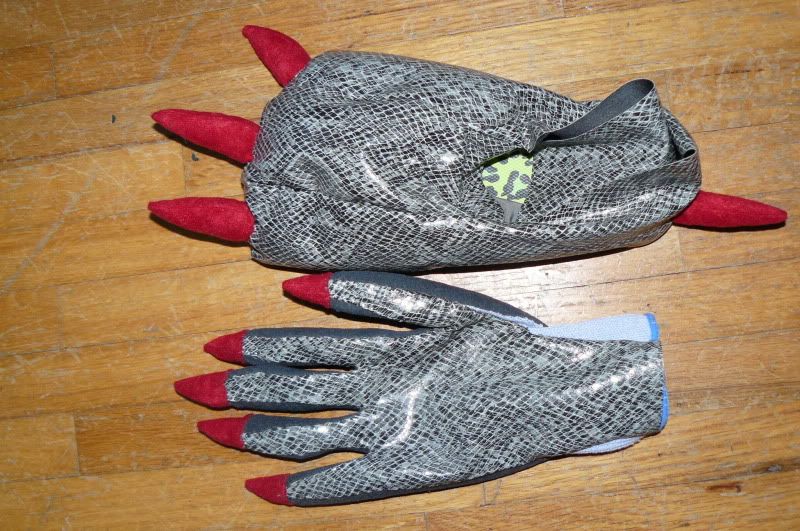
We found some gloves in the fishing department, and I hand stitched on some claws and skin backing. My fingers may never forgive me.
I would go into detail about how I made the feet slippers out of flip-flops, fabric, batting, and pins, but mylanta it was complicated. Thank goodness I paid attention to how my cabbage patch dolls were made. (See mom it was a good investment!)
P1010615.jpg picture by teljchall
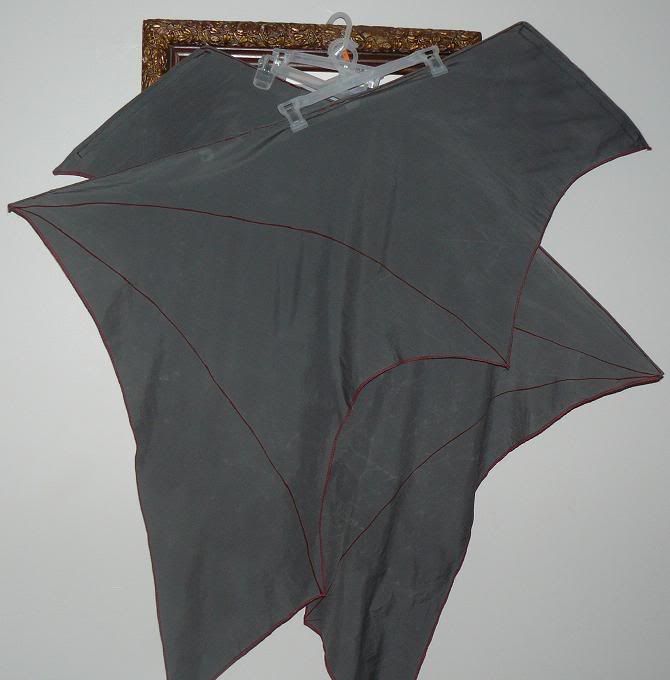
The wings are fabric, wire, paint, velcro, and lots of starch. I poured it in our spray bottle undiluted and went to town on the wings as they hung outside. They dried wonderfully stiff and keep this shape when horizontal. The wire runs from the base of the end that attaches to the back up to the point at the wing top. The rest is all starch. They are very lightweight and will be gloriously in the way as she goes to the parties. I can't wait!
wings.jpg picture by teljchall
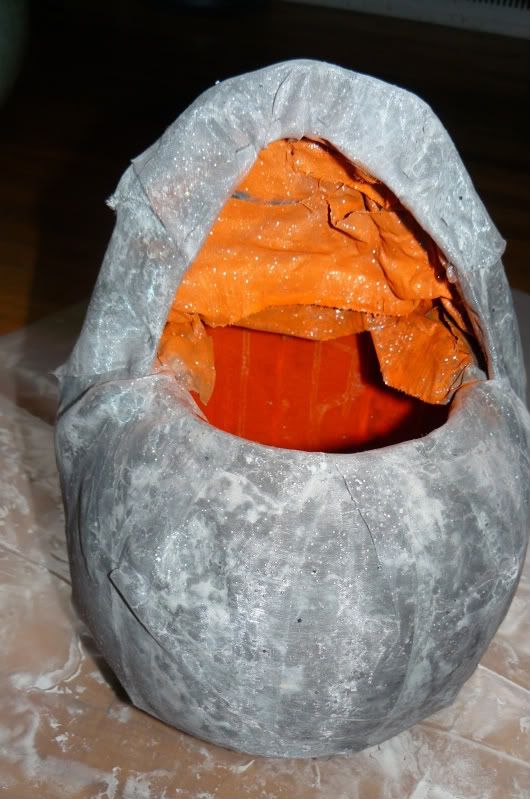
This is the candy bucket, she wanted an egg shaped one. I built it around a pumpkin bucket. I should have done a balloon as the base for the fabric-mache (not paper) but wouldn't you know I didn't have a balloon? Ah well, it works.
P1010616.jpg picture by teljchall
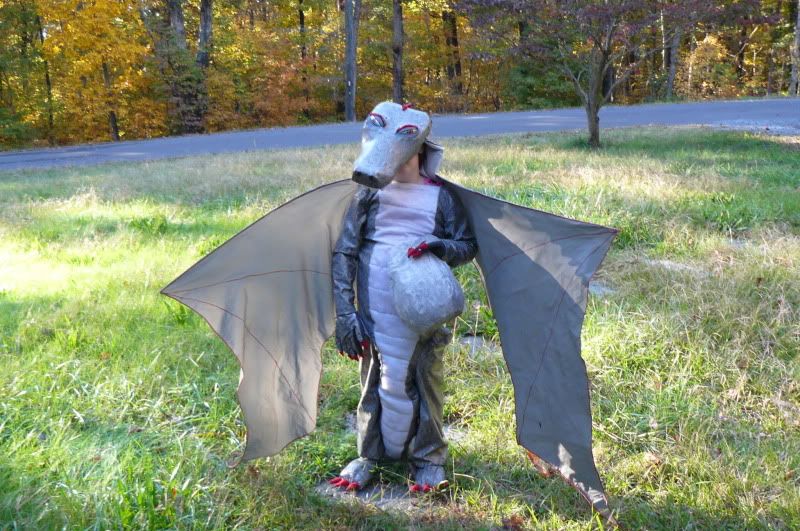
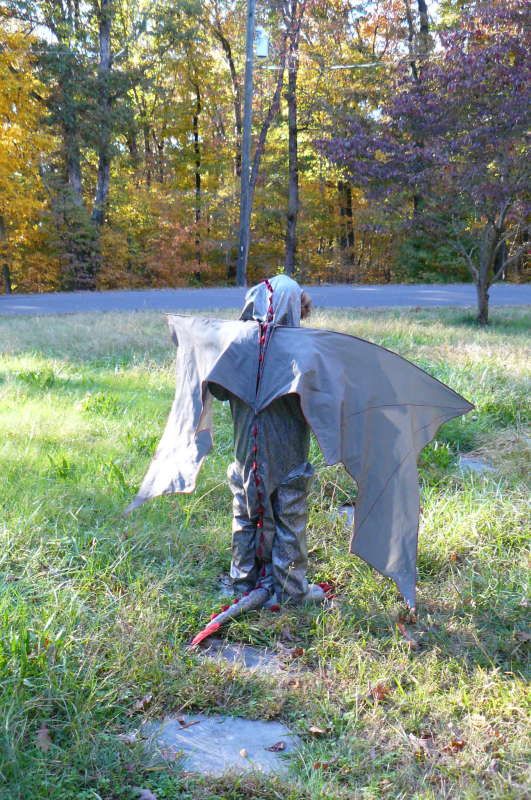
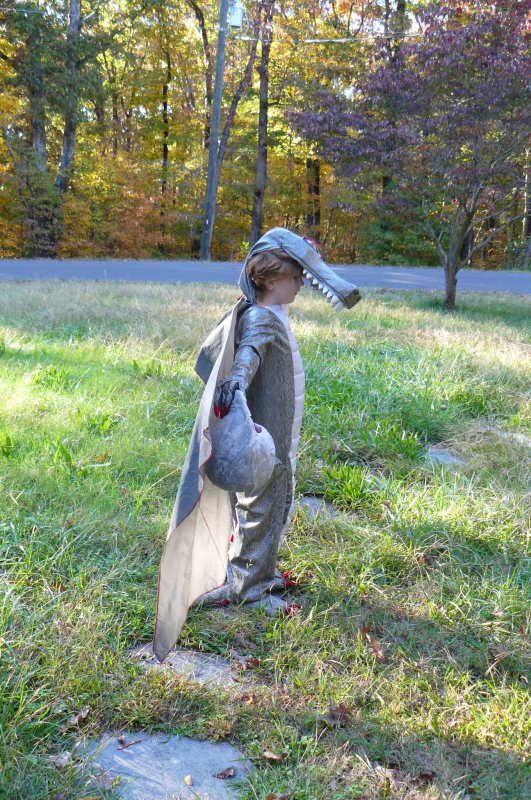
Here she is in the finished costume!
P1010622.jpg picture by teljchall
P1010624.jpg picture by teljchall
P1010626.jpg picture by teljchall
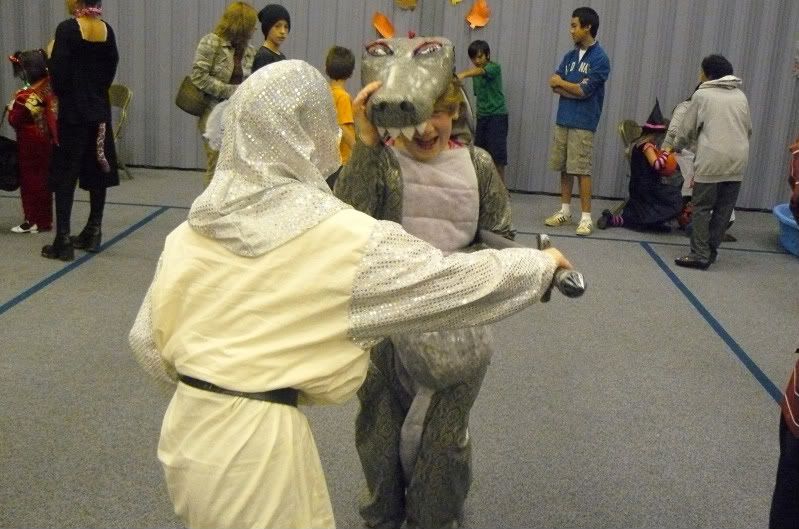
We had a knight attending the party at church, so they had a bit of fun, lol.
P1010659.jpg picture by teljchall